- +1 (517) 424-0577
- https://www.ididit.com
Tech Tips
Find detailed tech tips for your product and project. Please contact us if you need some help!
- Neutral Safety Switch for Universal Columns
- Neutral Safety Switch Wiring
- Checking a Neutral Safety Switch on an ididit Steering Column
- Checking a Clutch Switch for an ididit Steering Column
- Lower Shift Lever - Re-install Lockwashers & Screws
- How to get your turn signals to cancel properly
- Common Turn Signal Wiring Issues
- IDIDIT Horn Kit Update
- Original Mustang Steering Wheels
- Steering Wheel Adaptors for Mustangs
- IDIDIT GM Style Wiring Harness
- 1969 Camaro Neutral Safety Switch
- Ignition Wiring for 1969-70 Pontiac Firebird, GTO, etc.
- 1964 Chevy Impala SS
- Tri-Five Chevy Floor Mounts
- Golf Carts with Horn
- What U-Joint or Rag Joint will fit my steering box?
- IDIDIT Jeep Column to a Painless Wiring Kit Instructions
- Proper Care & Maintenance of Your Steel ididit Steering Column
- Are you using LED lights?
- Using Halogen bulbs for you headlights?
- I have Halogen Headlights, what relay will I need?
- Got a polished aluminum column thats lost it's shine? Try this tip!
- What Corvette adapter do I need for my reproduction wheel
- Can I powder coat my column with other colors?
- Cruise Control Throttle Wire Kits
- IDIDIT Top End Stacking Order
- What we don't fit...
- How to find the serial number on an ididit steering column
- How To Identify an ididit Steering Column
- Replacing a Wire Harness
- ididit Race Retainer Tip
- Checking a Relay Pack on an ididit steering column
- How to adapt your steering wheel to an ididit steering column
- Fitting a stock GM steering wheel to an IDIDIT column
- Steering Wheel Adaptors
- Checking an ignition switch on an ididit steering column
- How to measure your steering box shaft
- ididit Wiring Diagram
- Keep it Cool!
- How to (and not to!) weld brackets to your ididit column
- Mustang with a Borgeson Power Assisted Box
- A Tip on your Lower Shift Lever
- Swivel Ball Floor Mount Specs
- Female End Plug
- Rusty U-Joints?
- OUCH! That was shocking!
Q: Neutral Safety Switch for Universal Columns
Have you ever wondered why there is no neutral safety switch on our Universal Series columns with a shifter? It’s simple really, we don’t know where to put it. Let’s say you want a 30” tilt column w/shift for your Model A sedan. You would want that switch located in one position whereas the guy with the 1948 Ford pickup will need it located in a different position. Not to worry, we have the solution! If you want a neutral safety switch on your column all you need to do is some simple measuring and tell us where it needs to be. We can then build your column with the switch mounted to your specs. A couple of things to keep in mind…it needs to be a minimum of 1” below the bottom of the wire slot and a minimum of 2” up from the bottom of the tube. We’ll also need to know where to clock it…12:00 is most common but it can be anywhere around the tube.
Q: Neutral Safety Switch Wiring
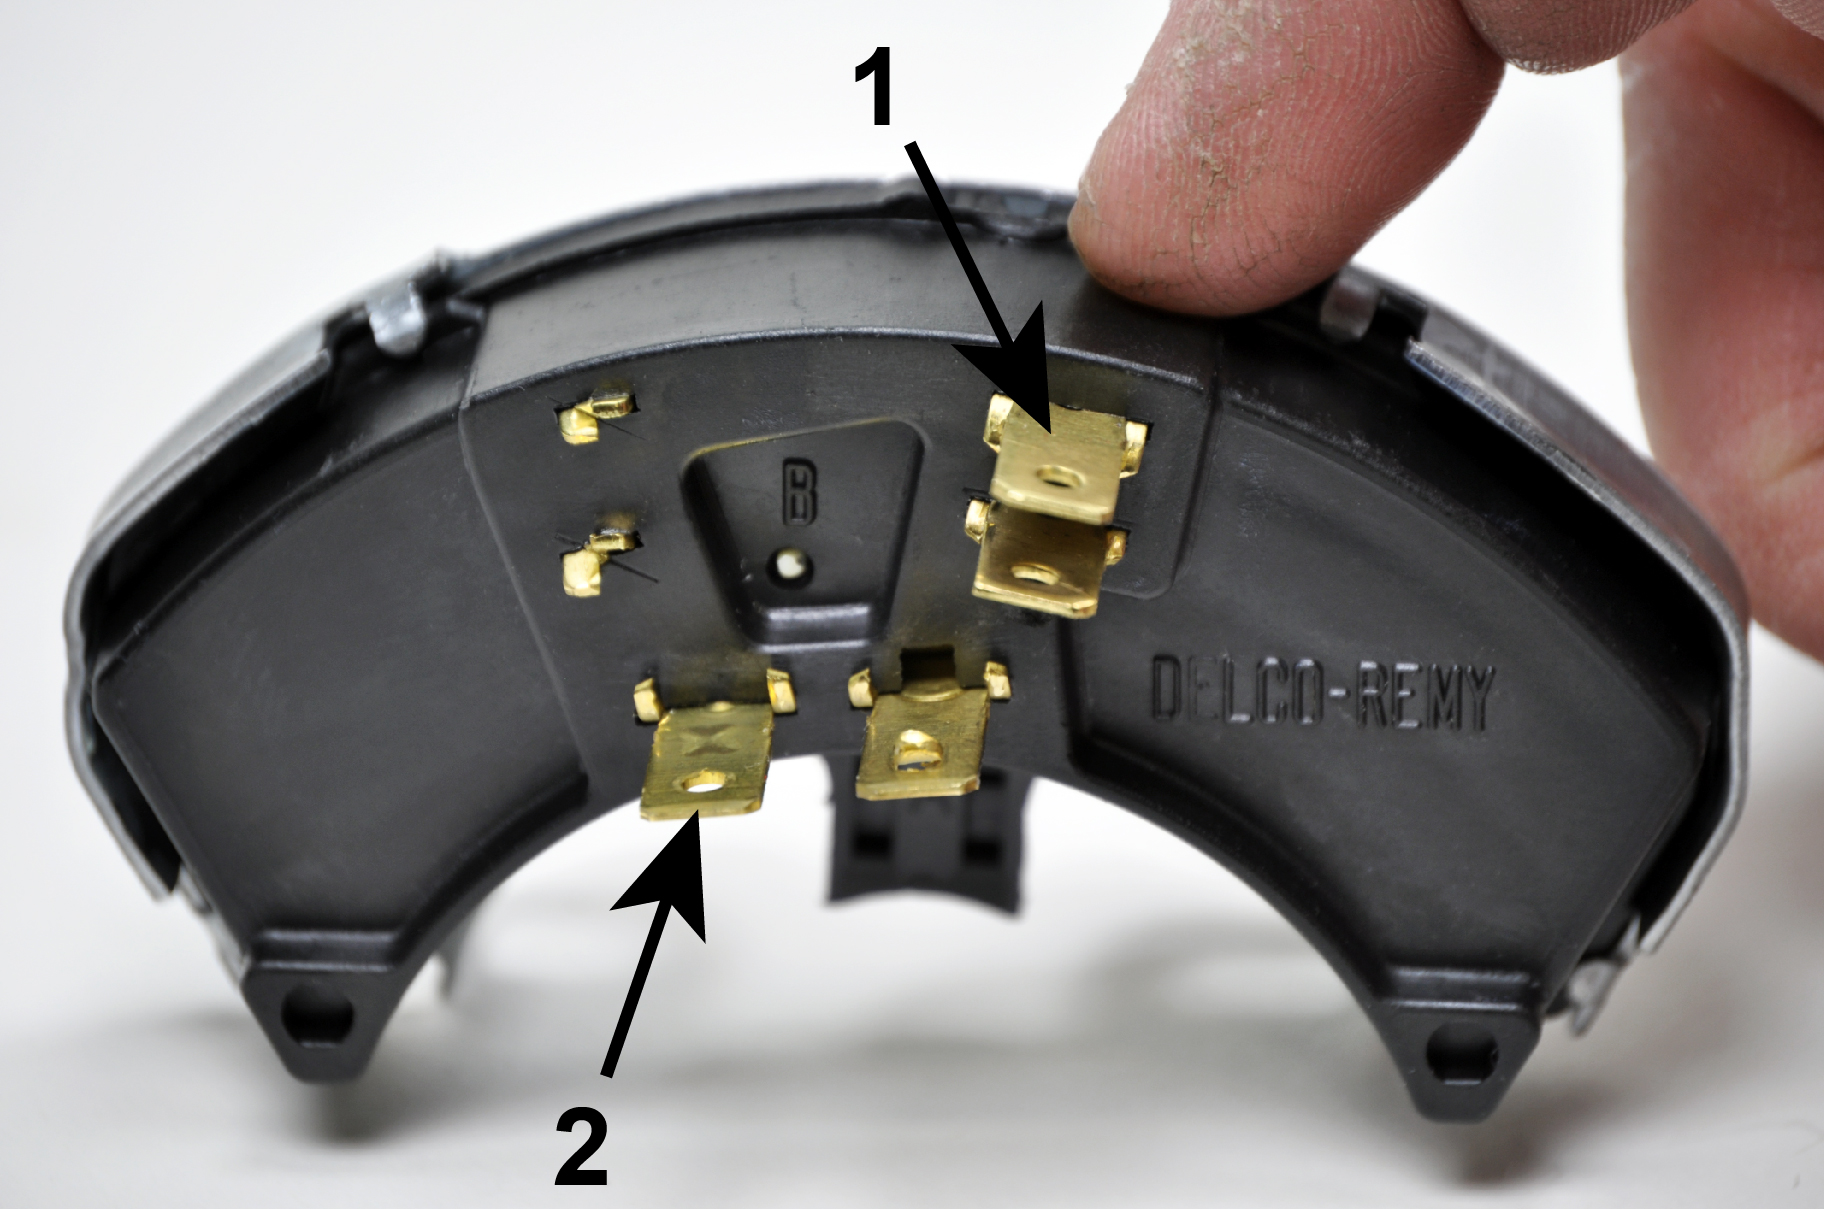
1- The two tabs on the right side of the Neutral Safety Switch (NSS) control the actual starting of the engine. Hook the solenoid wire from the ignition switch to the top tab on the right side of the NSS. Connect a wire from the bottom tab to the starter solenoid marked with the letter "S".
2- The other two tabs are for back-up lights. One tab goes to a fuse that is hot all the time. The other tab goes to the back-up lights. If no back-up lights are to be used, disregard these directions and do not hook any wires to either tab.
Please Note: The NSS has been pre-adjusted. If you remove the switch to paint the column, you may have to adjust it so it will only start in park and neutral again.
Q: Checking a Neutral Safety Switch on an ididit Steering Column
Q: Checking a Clutch Switch for an ididit Steering Column
Q: Lower Shift Lever - Re-install Lockwashers & Screws
When repositioning the lower shift lever on your IDIDIT column shift column, make sure you re-install the supplied LOCK WASHERS and SCREWS. If they are not securely installed, the lower shift lever may vibrate loose, allowing it to fall off the column.
Q: How to get your turn signals to cancel properly

This quick and easy step of synchronizing your IDIDIT Steering Column is often times overlooked and should be done before placing your steering wheel and adaptor onto your column for final assembly. If you look at the top portion of your IDIDIT steering column you will see that the shaft extends further than the length of the column and protrudes through the center of the white Horn Cam, which sits above the top of the column sleeve. The Horn Cam not only acts as the mechanism for your horn, but it?s also ensures that your turn signals cancel. In order for your turn signals to cancel properly the Horn Cam needs to be in the correct position. To do this, check to verify that your driving wheels are pointed straight and your steering column is connected properly to your box or rack. With your thumb and index finger turn the horn cam until the horn tube (the white tube that sticks up) is at the 10:30 position. Now that the Horn Cam is properly aligned your turn signals will cancel like they should and you can now complete the installation of your steering wheel and adaptor. To watch the tech video of this process CLICK HERE.
Q: Common Turn Signal Wiring Issues
Ok, you've run the wires for your turn signals and connected power to the fuse panel. You've plugged the column into your harness and then you turn on your left (or right) turn signal to find that all the turn signal lights light up at the same time. What's up with that??? More often than not the issue will be one of two things, we'll start with the easy one first. Check to make sure that your 4-way flasher knob is pulled all the way out. If it is even partially engaged you can get some weird things happening. If your 4-way flasher knob is not the issue we'll look at option 2. Most older cars have dual element bulbs at all four corners. Turn on the lights and they light up. Turn on the turn signals or step on the brake (rear lights only) and they light up brighter. This is assuming of course that your wiring is hooked up correctly. What happens if the wires running to those lights are crisscrossed? Power feeds back through the headlight switch and out to all four of those lights. The tricky part is that it could be any of the four, so you'll have some checking to do. Luckily, it is simple enough to check with a test light. Once you've found the offending wire socket you should be able to reverse the wires and your problem will be solved. If you have any questions feel free to give us a call or email us and we'll be happy to help.
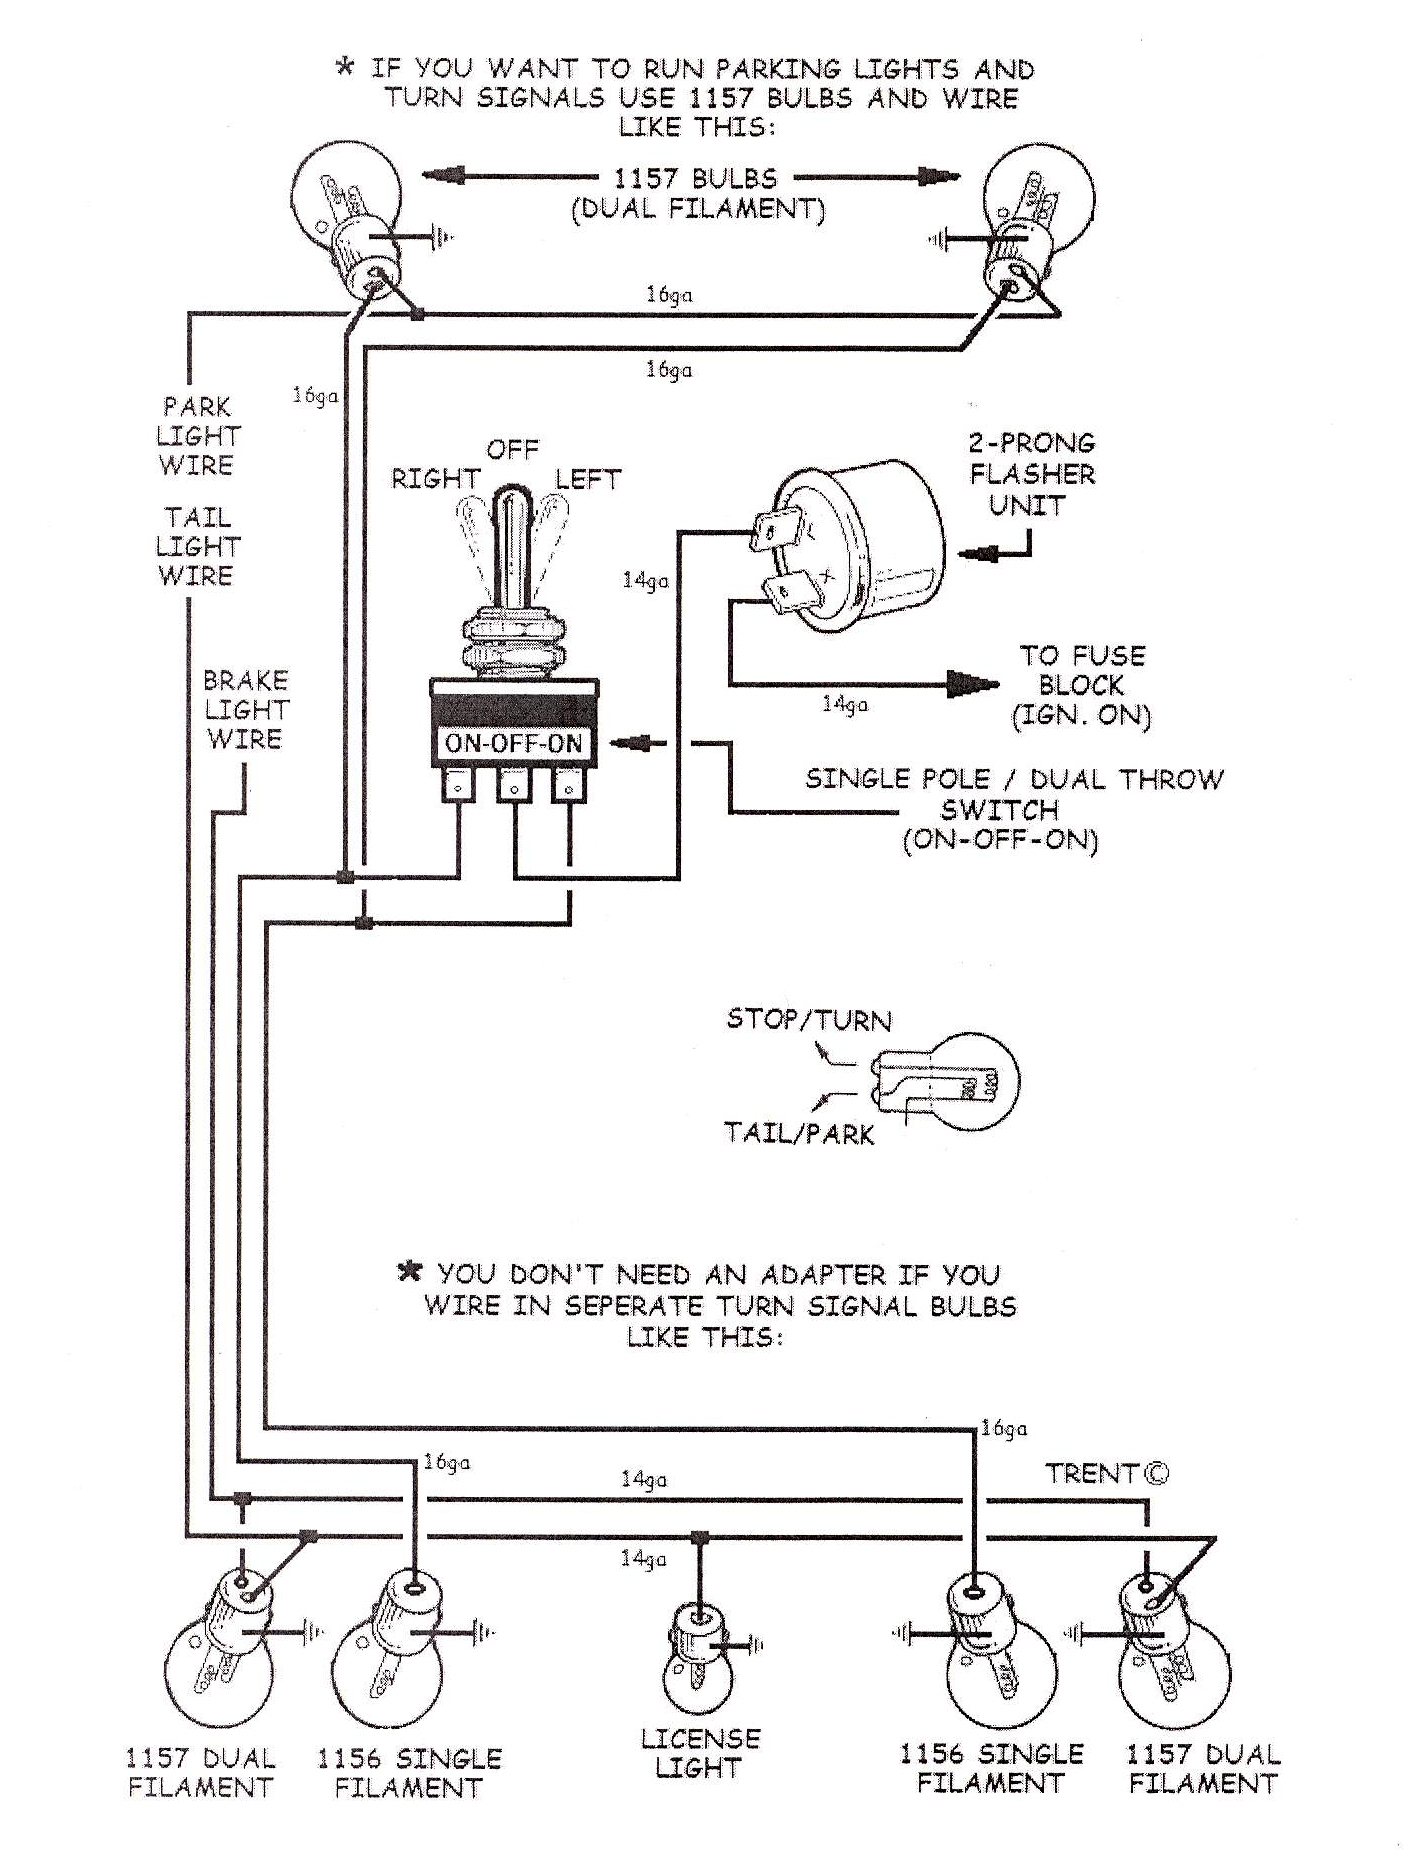 Click on diagram to enlarge
Q: IDIDIT Horn Kit Update
IDIDIT offers two different horn kits designed to adapt your older, stock GM steering wheels to the IDIDIT column. Part # 2612100040 will fit “MOST” 1955-68 GM steering wheels but we are finding a few exceptions. Our part # 2612100240 will work on the 1965 Impala and Chevelle (not the SuperSport) as well as the 1966 Nova wheel as these wheels have a different diameter. As we identify others we will be sure to keep you updated.
Q: Original Mustang Steering Wheels
When installing your OEM steering wheel to your IDIDIT Ford Style Mustang Steering Column, the OEM steering wheel must be for the same year application as the column. Use of a different year wheel WILL result in damage to the turn signal switch!
Original Chevy Truck Steering Wheels Original 1960-66 steering wheels will NOT fit on top of any IDIDIT 1960-66 Chevy truck column. With the help of IDIDIT's 1955-68 horn kit w/ ring, a stock 1967-72 wheel will bolt to your 1967-72 ididit steering column. The 1973-78 stock steering wheel will bolt directly to the top of an ididit steering column with no additional accessories or modifications.
Q: Steering Wheel Adaptors for Mustangs
Q: IDIDIT GM Style Wiring Harness
The black wire located on IDIDIT's GM Style wiring harness (that most of us may think is Ground) is actually for the Horn Wire. This wire, no matter what anyone says otherwise should NEVER be hooked to anything other than the negative side of the horn relay. If this wire gets any type of power, your column could potentially short out and cause major damage to your vehicle. This is so important that we affix a precautionary sticker on each of the Black Wires of the GM Wiring Harness. We urge you to read all instructions prior to installation.
Q: 1969 Camaro Neutral Safety Switch
Original 1969 Camaro floor shift columns came with a neutral safety switch. When installing your new IDIDIT 1969 Camaro tilt floor shift column, you will need to relocate the neutral safety switch to the transmission.
Q: Ignition Wiring for 1969-70 Pontiac Firebird, GTO, etc.
In our catalog you may have noticed that the 1969 Camaro tilt column with ignition cannot be substituted into the Firebird and the 1969-72 Chevelle/El Camino tilt column with ignition cannot be substituted into the GTO. This is due to Pontiac having a different ignition wiring system in the 1969 & 1970 models. If you have any questions regarding this please give us a call!
Q: 1964 Chevy Impala SS
IDIDIT columns are designed to fit right up against the dash and on some 1964 Chevy Impala SS models there is a tachometer that sits right above the steering column. This poses a slight problem. If you are faced with this issue, when ordering your ididit column simply give us a call or let your dealer know that you will need a column that is 2 inches longer and the added length will give you all the room you need to clear the tachometer.
Q: Tri-Five Chevy Floor Mounts
When installing the Classic Chevy Floor Mount you want to be sure that it is secured firmly to your column, but you don't want to tighten it too tightly. The mount has a strong clamp that secures the mount to the column and if you tighten it too much there is a good chance you could deform your column. It is especially important if you have a column shift column as it will affect the shifting mechanism inside the column. If you are having difficulty getting into any gear, your floor mount is too tight. Our advice is to make sure the clamp is snug, but not too tight.
Q: Golf Carts with Horn
Defining the type of golf cart you are working on is important when ordering your column. If you have a gas powered cart the horn can be used as it originally came, on the floor or connected to the steering column. If you have an electric cart there is a grounding issue that will need to be dealt with as an electric cart has no isolated ground. Your IDIDIT column needs an isolated ground for the horn button to work. We have a simple solution, however. IDIDIT offers a replacement turn signal lever and relay kit that is an isolated system and allows a functional horn on the end of the turn signal. It does require a special lever and relay pack. This can be purchased and installed right at our facility ($169.14 retail). Or you can install this kit yourself ($119.14 retail).
Q: What U-Joint or Rag Joint will fit my steering box?
Here at IDIDIT, we try to get you the best information possible, and now we have a way to make choosing the right parts easier. Click here for a list of the most common steering boxes used on the market, along with their manufacturer and input shaft sizes to help you find what u-joint or rag joint to use.
Q: IDIDIT Jeep Column to a Painless Wiring Kit Instructions
If your Jeep has a Painless Wiring Harness installed, we recommend that you use Ignition Relay Pack #510297 in order for everything to work properly. Click here for more information.
Q: Proper Care & Maintenance of Your Steel ididit Steering Column
Q: Are you using LED lights?
Q: Using Halogen bulbs for you headlights?
Q: I have Halogen Headlights, what relay will I need?
Q: Got a polished aluminum column thats lost it's shine? Try this tip!
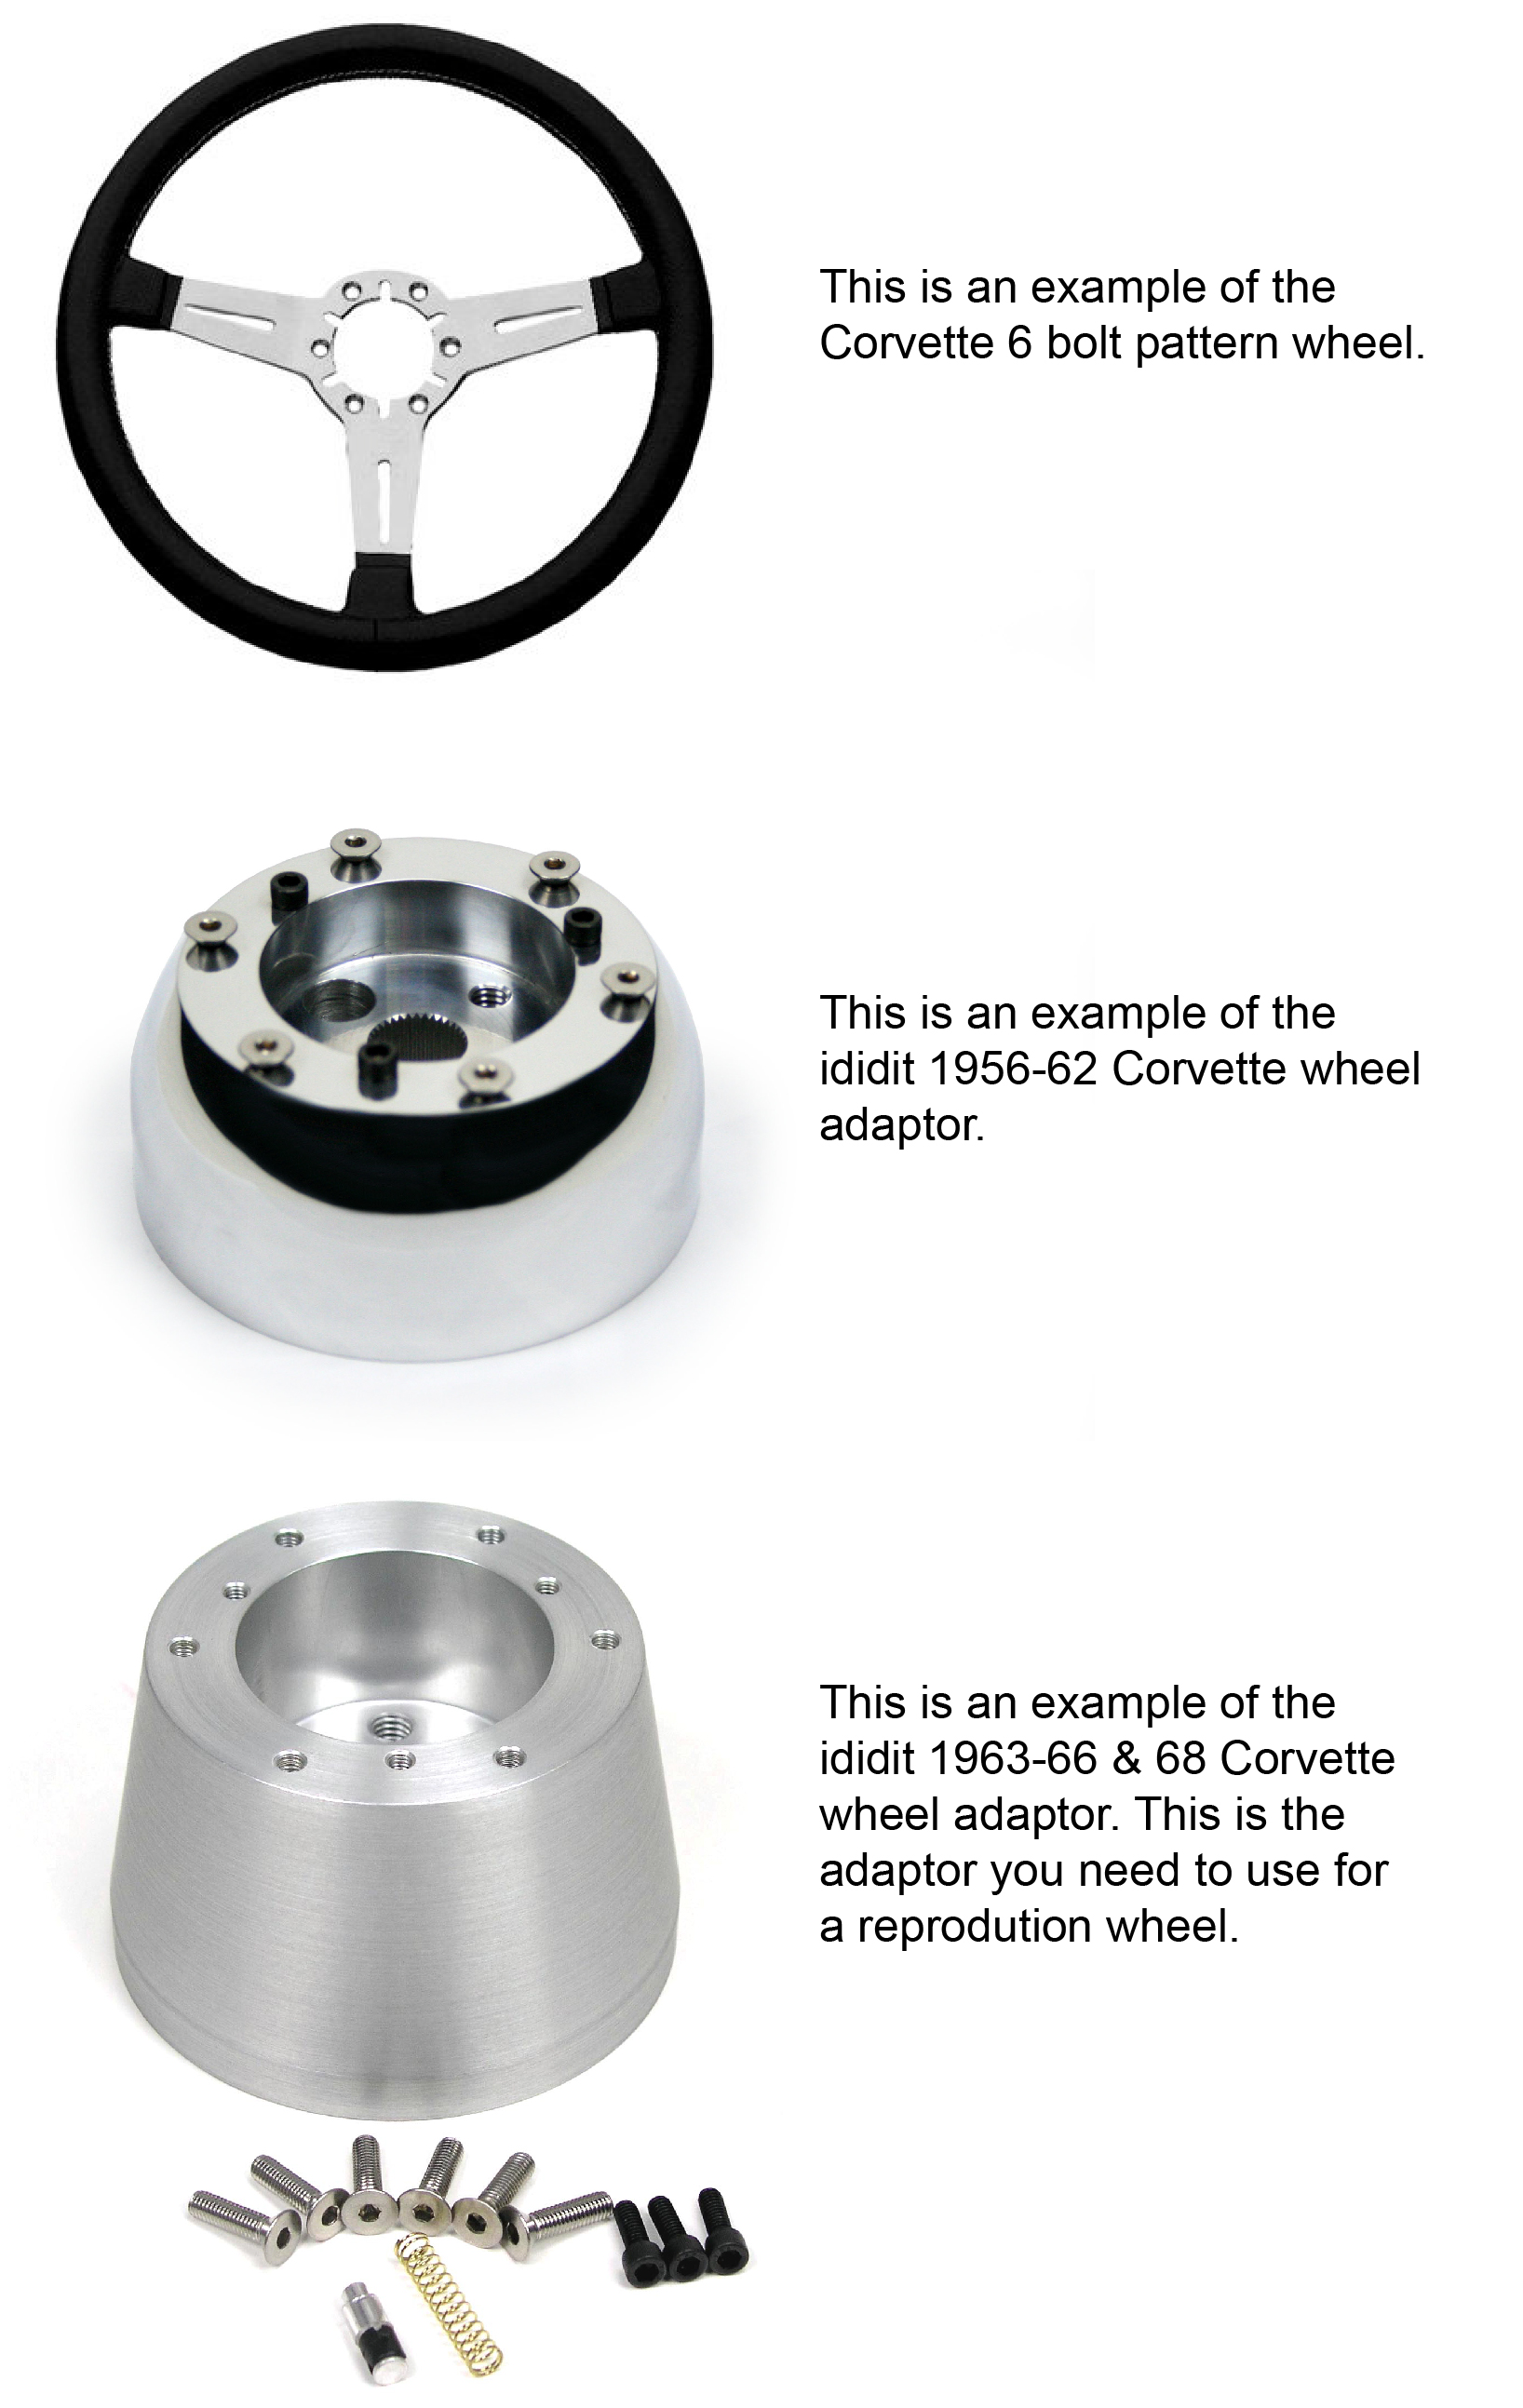
Q: What Corvette adapter do I need for my reproduction wheel
Q: Can I powder coat my column with other colors?
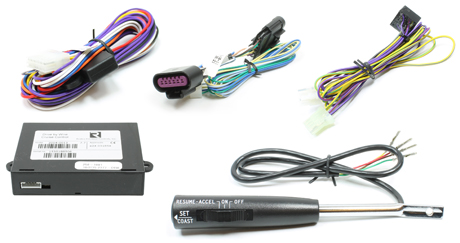
Q: Cruise Control Throttle Wire Kits
Q: IDIDIT Top End Stacking Order

If for any reason you need to take apart the top of your IDIDIT tilt steering column, please use this diagram for the correct re-stacking order.
Click on the link to download the instructions for the re-seating kit. Repair of an Unseated ididit Steering Column
Q: What we don't fit...
We never want to be negative, but we also want to be truthful and let you know what our columns won't fit before you buy as opposed to after the sale. Luckily, it is a very short list. Do you have a 1963-64 Impala with the factory tach in the dash? Unfortunately our 1963-64 Impala Retrofit steering column is not compatible with the factory tach; Our column is fatter that the original and the two just don't play well together. 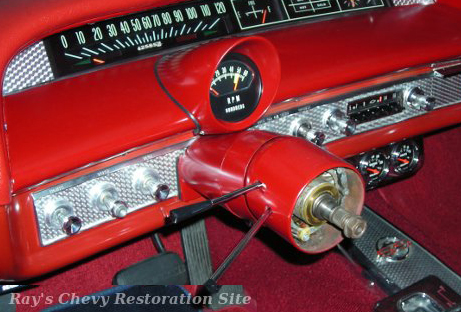
How about an early Mustang with the Rally Pac gauge cluster? Same problem, the bigger dimensions of our 1965-66 Retrofit column just won't work with them.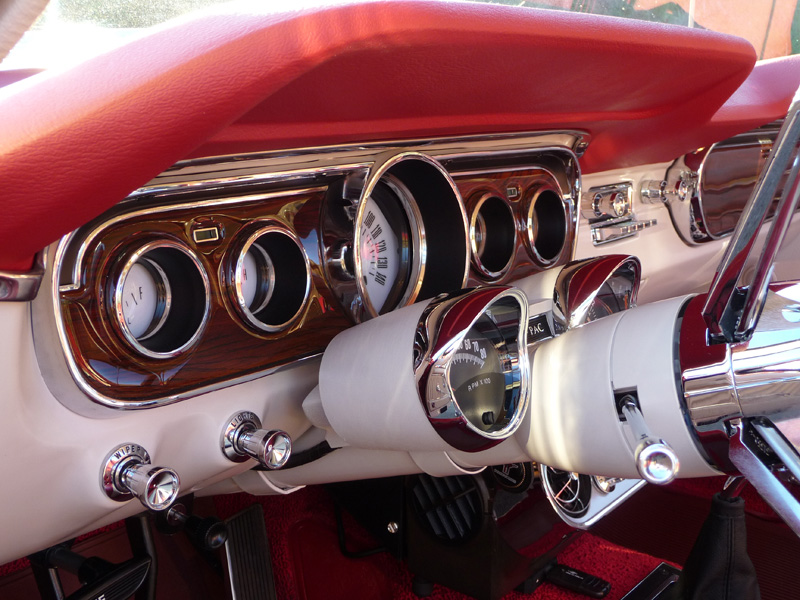
Q: How to find the serial number on an ididit steering column
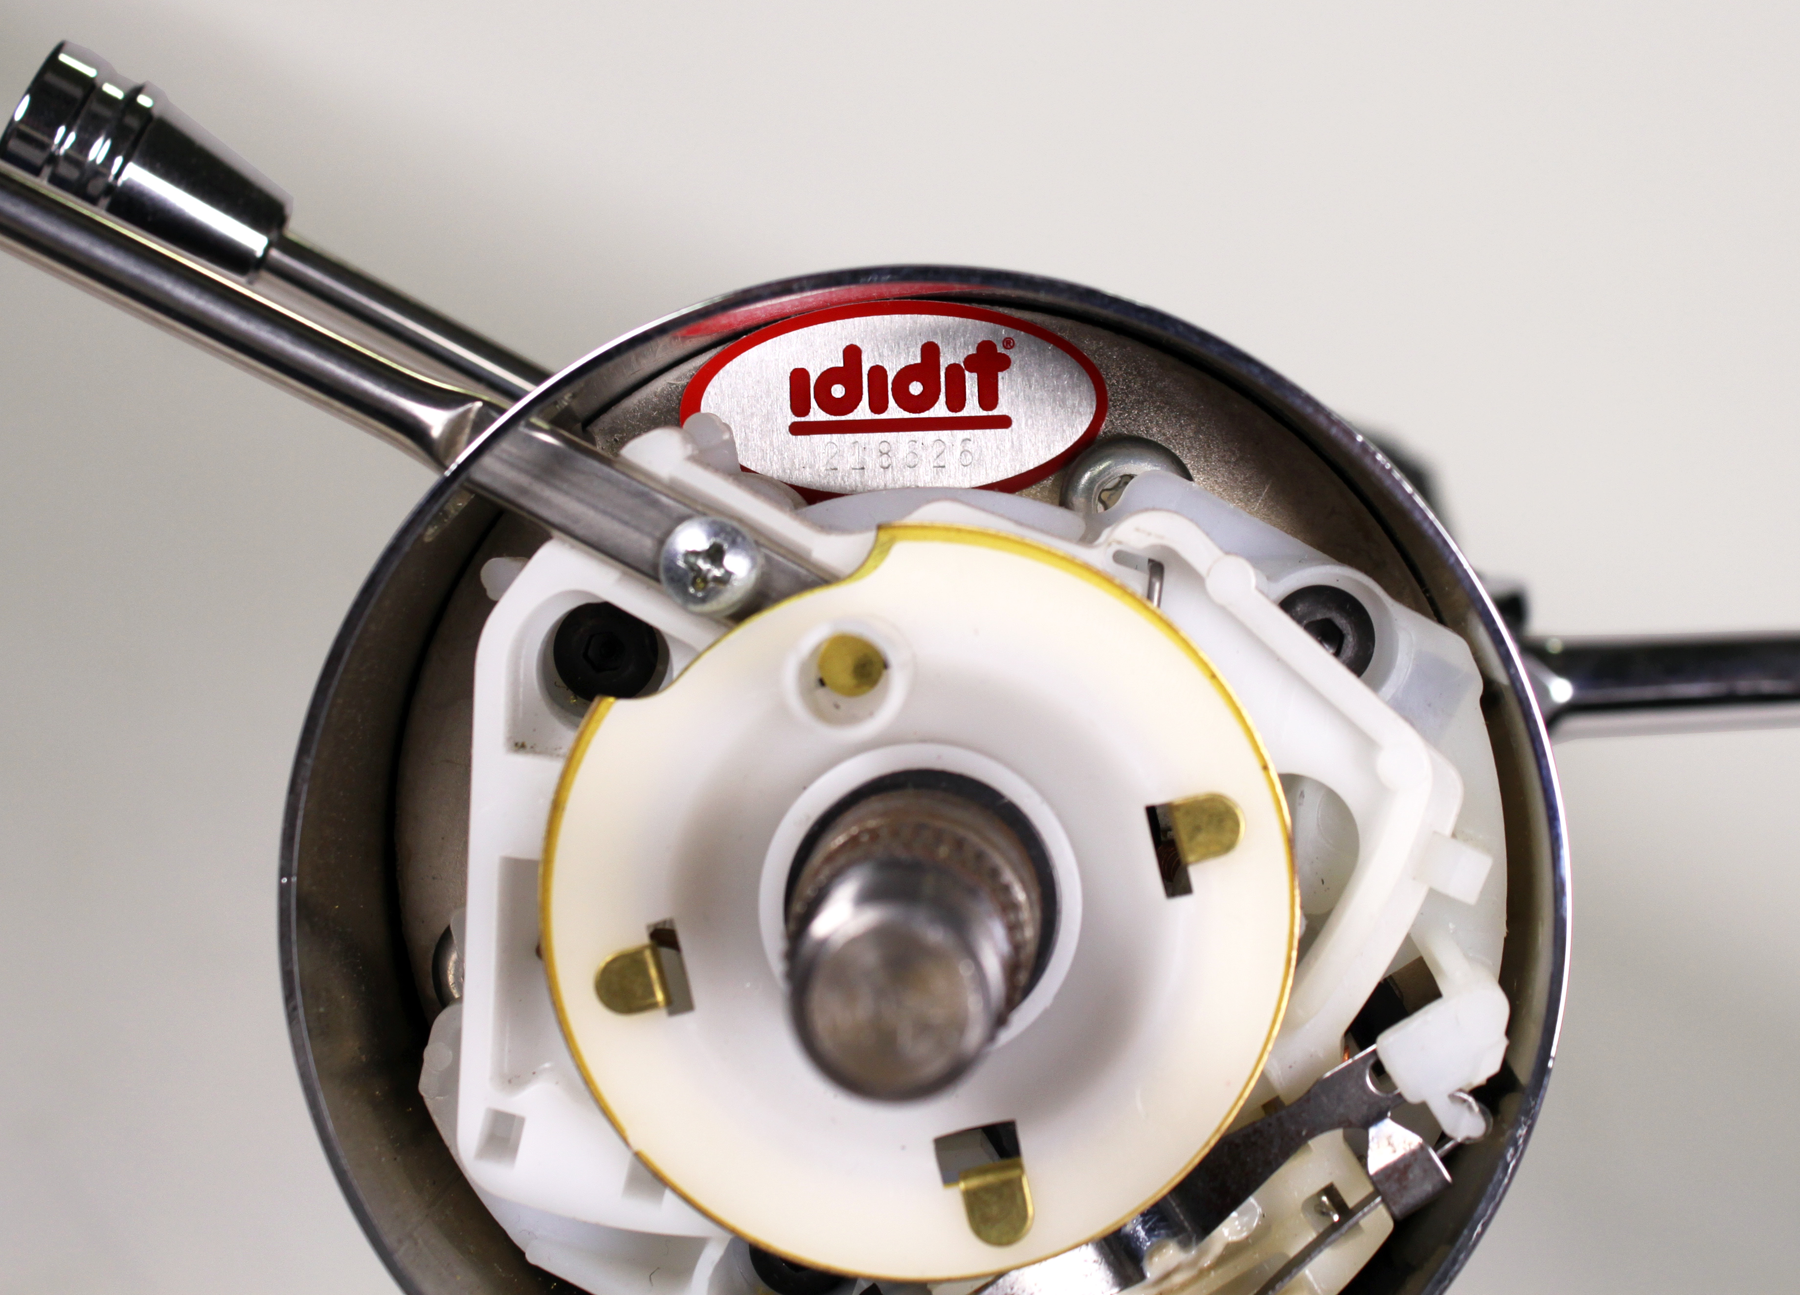
One of the easiest ways to identify an ididit steering column is to find the serial number. This number is so important, in fact, it can even be considered the column's birth certificate! The 6-digit number can be found in the upper sleeve on the inner plate, as show in the photo above. It's very helpful when we're troubleshooting any issues you may have. The serial number tells us when the column was built, who built it, what type it is, what dealer bought it, whether it's a floor shift or column shift, and more. Once we know this number we'll be able to give you tech advice and any information you might need!
Q: How To Identify an ididit Steering Column
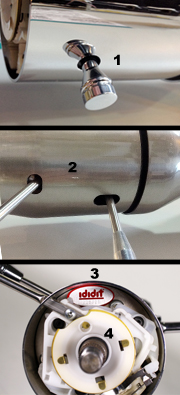
Want to figure out if you have an ididit column or not? Here are a few simple features to look for to help you determine if you have an ididit steering column.
1. The ididit column sleeve will have a round cut hole for the 4-way flasher.
2. The ididit column sleeve will also have an oval cut holes for the tilt and turn signal levers.
3. All ididit columns have an ididit foil, mechanically stamped serial number tag located inside the top of the column.
4. ididit columns include a white plastic horn cam.
For an in-depth description of our column features and what to look for, watch this video! HOW TO IDENTIFY AN IDIDIT STEERING COLUMN
Q: Replacing a Wire Harness
Q: ididit Race Retainer Tip
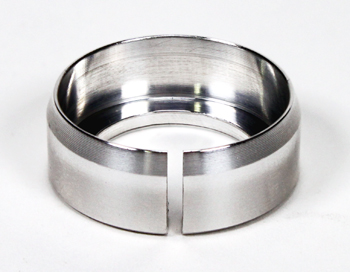
The slit, or cut down the side of the ididit race retainer is normal and is not a break or stress fracture in the piece itself. The slit is made as part of the manufacturing process for the piece. If the race retainer is removed from the column, it should be replaced with the sharp side down. The load spring will rest on the backside (flat back) of the race retainer, and not on the inside of the retainer.
Q: Checking a Relay Pack on an ididit steering column
- Locate the small BLACK ground wire on the relay pack and with continuity tester check to see if it is grounded to a chassis ground.
- For the next test you will need to switch your testing tool to a test light.
- Start this test with the battery still connected and any battery disconnect in an on/run position. Make sure the vehicle is in park or out of gear to ensure it will not move.
- Using the test light, check for incoming power from the back of the starter or starter solenoid to the relay pack. This would be the big RED wire on our relay pack.
- With the key in the ACC Back ignition position the large BROWN wire should have power. Not PINK or PURPLE.
- Now turn the key past off into the run position. The BROWN and PINK should have power. The PURPLE should not.
- Turn the key to crank and hold. The PINK and PURPLE should have power. The BROWN should not.
- If any of the circuits do not cycle as described, the relay could be bad or the terminals may not be seated properly. You should be able to hear and feel these relays click.
- If nothing is happening the ground has to be bad or the power supply is not there.
Q: How to adapt your steering wheel to an ididit steering column
Q: Fitting a stock GM steering wheel to an IDIDIT column
- Because IDIDIT Universal and most Retrofit steering columns are GM based most GM passenger car steering wheels will fit our columns.
- Any 1969-94 GM passenger car steering wheels will bolt directly onto our columns.
- You will need to use one of our Horn Kits w/Ring in order to fit 1955 to 1968 stock wheels to an IDIDIT column. We have 2 different kits available: 1955-68 Horn Kit (part # 2612100040) is used to adapt most 55-68 GM stock steering wheels Click to watch the video 1965 Impala/Chevelle 1966 Nova Horn Kit (part # 2612100240) is used to adapt a stock 65 Impala & Chevelle wheel as well as a stock 66 Nova wheel. Click Here to go to the Horn Kit product page
- What if it's not a wheel from a car? We haven't tried all the different stock GM wheels that are out there and it can be spotty as to which years fit but here's what we do know; some early 50's GM Chevy Truck wheels fit great where some from the 60's just won't work at all. 1973 and newer pick-up wheels should be a direct fit on our columns.
Q: Steering Wheel Adaptors
Nearly every aftermarket steering wheel out there requires a separate hub adaptor to mount the wheel to the column. The wheels themselves have a variety of bolt hole patterns with 3, 5, 6 and 9 making up virtually all of them. ididit makes adaptors for pretty much all of the wheels on the market today. They are machined out of a solid "billet" of aluminum and are available in a brushed or polished finish as well as chrome plated or black powder coated. Check out our video http://www.youtube.com/watch?v=Dj-KmXjoISY for a look at the many styles and finishes we have to offer. Here are some of the most frequently asked questions about our adaptors
1. What adaptor do I need to get to fit your columns? Most ididit steering columns are designed to accept an adaptor that fits 1969-94 GM passenger car columns. Keep in mind that we also offer columns with a Ford top shaft such as our Mustang, Falcon, Ford truck and Bronco columns. The adaptors used for our Ford style columns are year and model specific. Please contact us with any questions regarding Ford applications.
2. How much do I tighten the nut that holds the adaptor on? We recommend using no more than 35 ft. lbs. of torque.
3. How much of a gap should be between the back of the adaptor and the top of the column? When you set the steering wheel onto the splined shaft of the column you will see a 1/4 inch gap (approximately.) The shaft is tapered, so when you tighten the nut the gap should end up between 1/16th and 1/8th of an inch.
4. Can I put my stock wheel on an ididit column? Most 1969-94 GM passenger car steering wheels will fit most of our columns. Often times we can adapt pre-69 GM wheels as well, just call us for details. Remember those Ford columns? Again, they are very year and model specific. If you have a 1965 Mustang and want to put a 1969 wheel on it, more than likely you're going to damage to both the wheel and the column. So stick with the one that?s meant to be there! We hope this helps answer a question or two for you. We're always as close as your phone or computer, so don't hesitate to contact us with questions about any ididit, inc. products.
Q: Checking an ignition switch on an ididit steering column
- Unplug the 4 terminal connector on the column. (RED, BROWN, PINK and PURPLE wires)
- Connect one end of the tester to the Red wire.
- Accessory: Roll the ignition back to ACC the BROWN wire should have continuity, no others.
- Off: turn forward (clockwise) 1 position from ACC. NO wires should have continuity.
- Run: turn forward (clockwise) 1 more position. The BROWN and PINK should have continuity, Not PURPLE.
- Crank: turn forward and hold (spring loaded) The PINK and PURPLE wire should have continuity, not BROWN.
Q: How to measure your steering box shaft
Q: ididit Wiring Diagram


Q: Keep it Cool!
Q: How to (and not to!) weld brackets to your ididit column
Q: Mustang with a Borgeson Power Assisted Box
Q: A Tip on your Lower Shift Lever
When re-positioning the lower shift lever on your ididit column shift steering column, make sure you re-install the supplied LOCK WASHERS and SCREWS. If they are not securely installed, the lower shift lever may vibrate loose, allowing it to fall off the column.
Q: Swivel Ball Floor Mount Specs
- 1 3/4" - maximum 30 degrees from center
- 2" - maximum 25 degrees from center
- 2 1/4" - maximum 17 degrees from center
- 1 3/4" - maximum 32 degrees from center
- 2" - maximum 27 degrees from center
- 2 1/4" - maximum 19 degrees from center
Q: Female End Plug
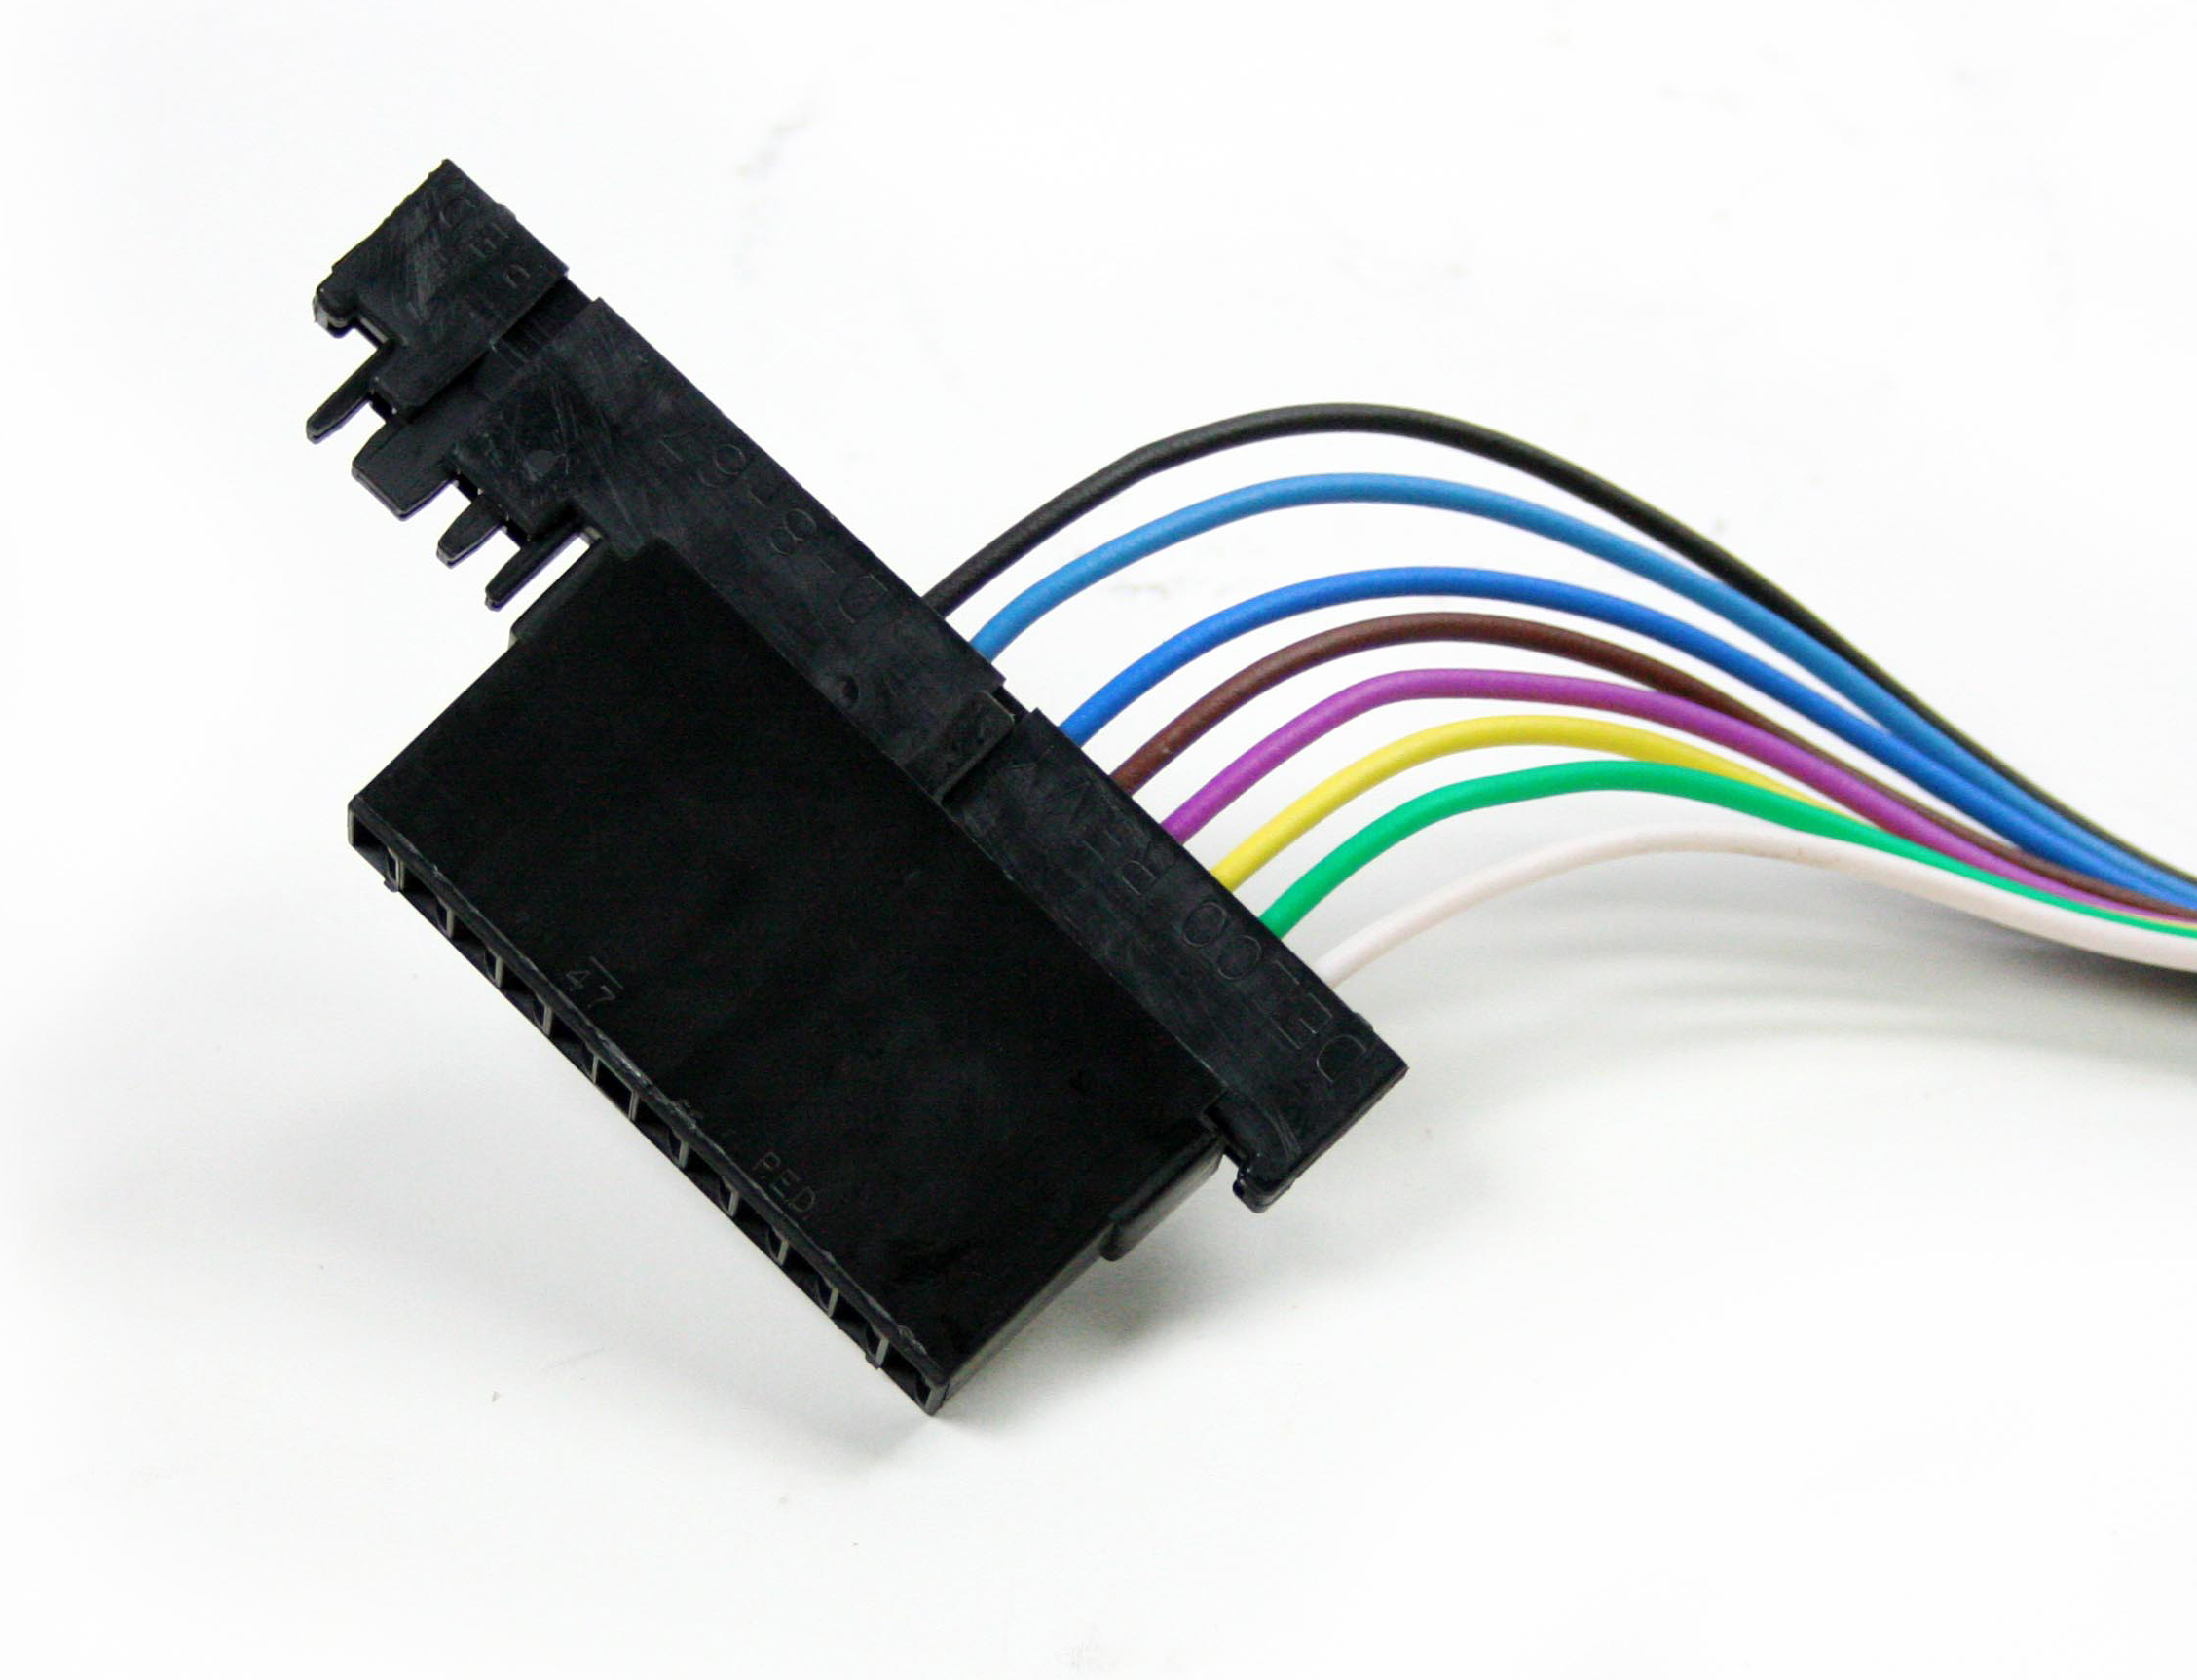
Sometimes we get people who call and tell us that the female end plug doesn't fit and that it's too short for the standard 3 7/8" wiring plug that came with the ididit steering column. Yes it is shorter than the male plug, but rest assured, it does fit. You are only connecting to the end of the plug that has wires attached to it and not the whole plug itself. For aesthetic purposes, you can cut off the end of the male plug that is not used or you can just leave it as it is. Either way you choose, the female end plug will still attach the steering column wiring harness to your vehicles electrical system. For a visual watch our video.
Q: Rusty U-Joints?
Q: OUCH! That was shocking!
- Horn button
- Steering wheel
- and/or Turn signal lever with option